

Capture your screen, computer sound and voice together without losing the context your viewers need.
To screen record on Windows 11 with audio, use Xbox Game Bar for a single app or a dedicated recorder like Flashback Express for capturing full-screen, multiple windows and for more audio control.
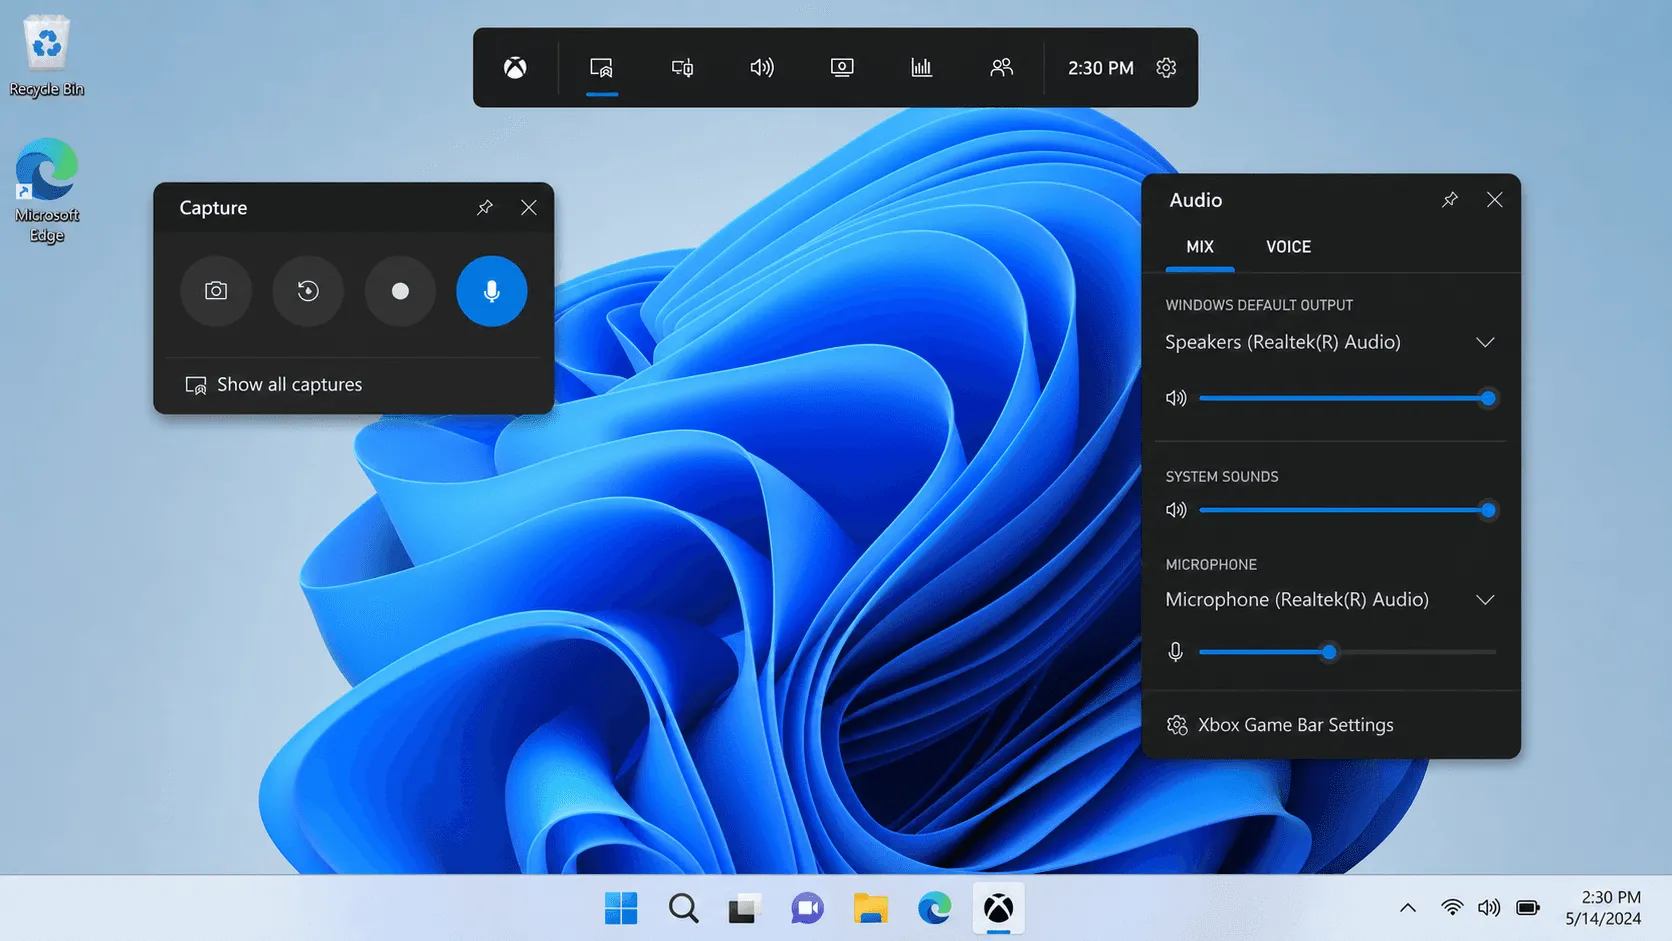
A screen recording is far more useful when viewers can hear what is happening. System audio captures sounds from applications, browser tabs, meetings and videos, while microphone audio lets you explain each step in your own words.
Windows 11 includes tools for quick recordings, but each has limits. Xbox Game Bar works well for capturing one application, while Snipping Tool is useful for short visual clips. When you need to move between windows or record system audio and your microphone together, a dedicated recorder gives you more control.
Flashback Express is one practical option for this workflow, but the right method depends on what you need to capture.
What Is the Easiest Way to Record Screen and Sound on Windows 11?
Choose the recording method based on the job:
• Use Xbox Game Bar for a quick recording of one application with system audio or microphone input.
• Use Snipping Tool for a short recording of a selected screen area. Audio options may depend on your installed version.
• Use a dedicated screen recorder when you need the full desktop, multiple windows, webcam, system audio and microphone capture together.
Before recording, decide whether you need computer sound, your voice or both. This avoids discovering that an important audio source was missing after you finish.
How to Screen Record on Windows 11 With Xbox Game Bar
Xbox Game Bar is built into Windows 11 and can record an open application with system and microphone audio.
1. Open the App You Want to Record
Open the game, browser, presentation or other application you want to capture.
Game Bar records the active application. It is not designed to capture the Windows desktop, File Explorer or a workflow that moves freely between several windows.
2. Open Xbox Game Bar
Press Windows + G to open the Game Bar overlay.
If it does not open, go to Settings > Gaming > Xbox Game Bar and make sure the feature is enabled.
3. Choose Your Audio Sources
Open Settings > Capturing inside Game Bar and select All if you want to include system and application sounds.
To include your voice, turn on the microphone from the Capture widget or press Windows + Alt + M.
Wear headphones when capturing system audio and microphone input together. This helps prevent the computer sound from feeding back through your microphone.
4. Start and Stop Recording
Press Windows + Alt + R to begin recording. Perform the actions you want to capture, then press the same shortcut again to stop.
Windows saves the finished MP4 in Videos > Captures.
How to Screen Record With Windows 11 Snipping Tool
Snipping Tool can record a selected area of your screen without installing another application.
1. Open Snipping Tool from the Start menu.
2. Select the Record button.
3. Select New, or press Windows + Shift + R.
4. Drag over the area you want to capture.
5. Select Start.
6. Select Stop when you finish.
7. Save the recording or open it in Clipchamp.
Snipping Tool is helpful for short demonstrations where you only need part of the screen. Its recording and audio controls are more limited than Game Bar or a dedicated recorder. Microsoft’s current workflow also lets you open the video in Clipchamp to add, adjust or detach audio afterward.
How to Record the Full Screen and Audio Together
Use a dedicated screen recorder when your video needs to include the full Windows desktop, multiple applications, a custom area or more than one audio source.
The basic workflow is similar across most Windows screen recorders:
1. Choose What Appears in the Recording
Select the full screen, a particular window or a custom region.
Use full-screen recording when your workflow moves between applications. Choose a window or region when you want to keep the video focused and avoid showing private information elsewhere on the desktop.
2. Turn On System Audio
Enable System audio or Computer audio to capture sounds playing through Windows.
This can include:
• Application audio
• Browser videos
• Presentation sound
• Meeting participants
• Game audio
• Notification sounds
Turn off notifications before recording if they are not part of the demonstration.
3. Turn On Your Microphone
Enable Microphone if you want to add narration.
Select the correct device when several microphones are connected. Speak normally and check the audio meter before continuing. Your voice should register clearly without reaching the top of the meter.
4. Make a Test Recording
Record 10 to 20 seconds before starting the full video. Play it back and check that:
• The correct screen is visible
• System audio is present
• Your microphone is clear
• One audio source is not overpowering the other
• No private notifications appear
A short test is much faster than repeating a long recording.
5. Record and Save the Video
Start recording and work through the process at a steady pace. When you finish, stop the recording and review the video from the beginning.
Trim setup time or obvious mistakes if needed. Remember that editing may change the export conditions of some free recorders, so check the export notice before saving the final file.
Can You Record System Audio and Microphone Together?
Yes. Windows 11 can record system audio and microphone input together when the recording tool supports both sources.
System audio captures sound produced by your computer. Microphone audio captures your narration or other sound in the room. A recorder that keeps these sources separate gives you more control if one needs to be adjusted later.
For a tutorial, keep the computer audio slightly quieter than your voice. Viewers should be able to hear the application without struggling to follow your explanation.
How to Get Clearer Audio in a Windows 11 Recording
Use Headphones
Headphones stop system audio from playing through your speakers and being captured again by the microphone. This reduces echo and makes narration easier to understand.
Select the Right Input Device
Go to Settings > System > Sound > Input and confirm that Windows is using the intended microphone.
Your laptop may automatically select its built-in microphone even when a headset or USB microphone is connected.
Check the Windows Volume Mixer
Open Settings > System > Sound > Volume mixer. Make sure the application you want to capture is not muted and is using the correct output device.
Reduce Background Noise
Close doors, silence nearby devices and move the microphone closer to you. A quiet room and sensible microphone position often help more than complicated audio settings.
Leave a Short Pause Before Speaking
Wait a second after starting the recording before you begin. Do the same before stopping. These pauses make the beginning and end easier to trim cleanly.
Why Does My Windows 11 Screen Recording Have No Sound?
System Audio Was Not Enabled
Open the recorder’s audio settings and make sure System audio, Computer audio or All sounds is selected.
The Application Is Muted
Check both the application’s own volume control and the Windows Volume mixer. An app can be muted even when the main Windows volume is turned up.
Windows Is Using the Wrong Microphone
Open Settings > System > Sound > Input and select the correct microphone. Make a short test to confirm that Windows is receiving sound.
Microphone Permission Is Disabled
Go to Settings > Privacy & security > Microphone. Allow microphone access and make sure desktop applications can use it.
Game Bar Is Recording the Wrong Window
Xbox Game Bar captures the active application rather than the entire desktop. Return to the correct application before starting.
If your recording needs to move between windows, use a dedicated recorder instead.
When Should You Use a Dedicated Screen Recorder?
Windows tools are convenient for occasional clips. A dedicated recorder is a better fit when you need to:
• Record the full desktop or multiple windows
• Capture system audio and microphone together
• Include a webcam
• Record a longer tutorial, meeting or presentation
• Choose a precise recording region
• Review and clean up the recording before sharing
Flashback Express is a free screen recorder for Windows 11 that captures screen, system audio, microphone and webcam. Recording has no time limit and the original recording is watermark-free.
If you edit the recording, a watermark may be applied to the exported result. Check the export notice before sharing an edited video.
Frequently Asked Questions
How do I screen record on Windows 11 with audio?
Use Xbox Game Bar to record one application with sound, or use a dedicated screen recorder for the full desktop, multiple windows and more control. Enable system audio for computer sound and microphone audio for narration before starting.
Can Windows 11 record system audio and microphone together?
Yes. Xbox Game Bar and compatible dedicated recorders can capture computer sound and microphone input in the same recording.
What is the easiest way to record screen and sound?
Xbox Game Bar is the quickest option for recording one application. A dedicated recorder is easier when you need to capture the full screen, switch between windows or control several audio sources.
Does Windows 11 have a built-in screen recorder?
Yes. Windows 11 includes Xbox Game Bar and screen recording in Snipping Tool. Their capabilities differ, so choose the tool based on the recording area and audio sources you need.
Can Xbox Game Bar record the Windows desktop?
No. Game Bar is designed to record a supported game or application. It does not record the desktop or File Explorer.
Where are Windows 11 screen recordings saved?
Xbox Game Bar recordings are saved as MP4 files in Videos > Captures. Snipping Tool lets you choose where to save the finished video. Other recorders may use their own project or export folders.
Record Your Windows 11 Screen With the Sound You Need
Xbox Game Bar works well for quick recordings of a single application. When you need the full screen, system sound, microphone audio or webcam in one recording, Flashback Express gives more control without adding unnecessary setup.
