

Comment enregistrer des vidéos de présentation de code
Aidez vos collaborateurs à comprendre les modifications de code plus rapidement grâce à une présentation asynchrone claire, à consulter selon leur disponibilité.
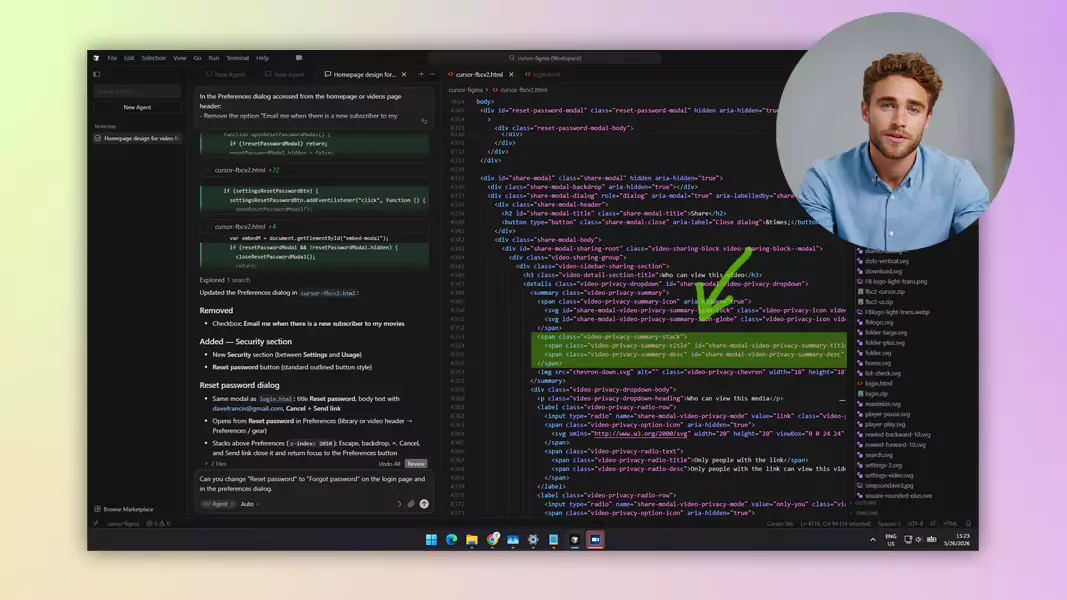
Découvrez en poursuivant votre lecture :
Ce qu'est une vidéo de revue de code et pourquoi elle est bénéfique pour votre équipe
Ce que vous devez préparer avant de lancer l'enregistrement
Comment enregistrer une vidéo de revue de code sous Windows
Les meilleures pratiques pour rendre les explications techniques plus faciles à suivre
Les erreurs courantes qui rendent les modifications de code plus difficiles à comprendre
Qu'est-ce qu'une vidéo de revue de code ?
Avant d'enregistrer, définissez l'objectif de votre vidéo.
Une présentation de code efficace répond généralement à ces questions :
Quel problème cherchiez-vous à résoudre ?
Quelle partie de la base de code est la plus importante ?
Qu'est-ce qui a changé dans la logique ou le comportement ?
Quels sont les compromis ou les cas limites importants ?
Que doit faire le spectateur ensuite ?
Un plan simple permet de structurer votre vidéo et d'éviter un défilement d'écran désordonné.
Fermez les onglets inutiles, masquez tout contenu sensible et ouvrez uniquement les fichiers ou outils indispensables.
Pour la plupart des présentations, cela implique :
votre éditeur de code ou IDE
la vue de la pull request ou du diff, le cas échéant
un navigateur local ou un aperçu de l'application
vos fenêtres de terminal, uniquement si elles facilitent la compréhension des modifications
Un espace de travail épuré simplifie la lecture de la vidéo et permet à votre spectateur de rester concentré sur l'essentiel.
Ne commencez pas par du code. Commencez par la raison du changement.
Par exemple :
« Cette correction évite les tentatives de réessai en double lorsque le webhook expire. »
« Ce remaniement déplace la validation vers une couche partagée unique. »
« Cette PR modifie l'intégration afin de gérer correctement les états vides. »
Cette approche structure le reste de votre présentation. Elle permet également aux relecteurs de mieux évaluer les modifications apportées.
Fermez les onglets inutiles, masquez tout contenu sensible et ouvrez uniquement les fichiers ou outils indispensables.
Pour la plupart des présentations, cela implique :
votre éditeur de code ou IDE
la vue de la pull request ou du diff, le cas échéant
un navigateur local ou un aperçu de l'application
vos fenêtres de terminal, uniquement si elles facilitent la compréhension des modifications
Un espace de travail épuré simplifie la lecture de la vidéo et permet à votre spectateur de rester concentré sur l'essentiel.
Une démonstration de code devient bien plus utile lorsque l'observateur peut visualiser l'effet concret de la modification.
Selon la tâche, cela peut consister à :
reproduire le bug avant sa correction - si vous signalez le problème pour la première fois, vous pouvez le détailler clairement à l'aide d'un modèle de rapport de bug logiciel
présenter le comportement corrigé
afficher un aperçu de la modification de l'interface utilisateur
exécuter le test qui réussit désormais
montrer le résultat que les relecteurs ou l'équipe QA doivent valider
Cette étape clé transforme la démonstration de code, convertissant un simple commentaire en une véritable transmission opérationnelle.
Avant d'arrêter l'enregistrement, indiquez au spectateur ce sur quoi il doit porter son attention ensuite.
Il peut s'agir de :
la partie de la logique sur laquelle vous souhaitez un retour
la zone de risque principale dans la PR
les cas limites que l'équipe QA devrait tester
le travail de suivi qui reste à faire
Une bonne conclusion donne un objectif clair à la vidéo au lieu de la faire passer pour une simple explication générale.
Vous n'avez pas besoin d'un montage complexe. Un simple nettoyage rapide suffit généralement.
Supprimez :
les quelques secondes de silence au début
les pauses prolongées lors des changements de fichiers
les faux départs à la fin
toute section où vous avez recommencé vos explications
Cette légère touche de finition rend la vidéo bien plus agréable à regarder, sans exiger d'effort supplémentaire.
Meilleures pratiques pour des revues de code plus efficaces
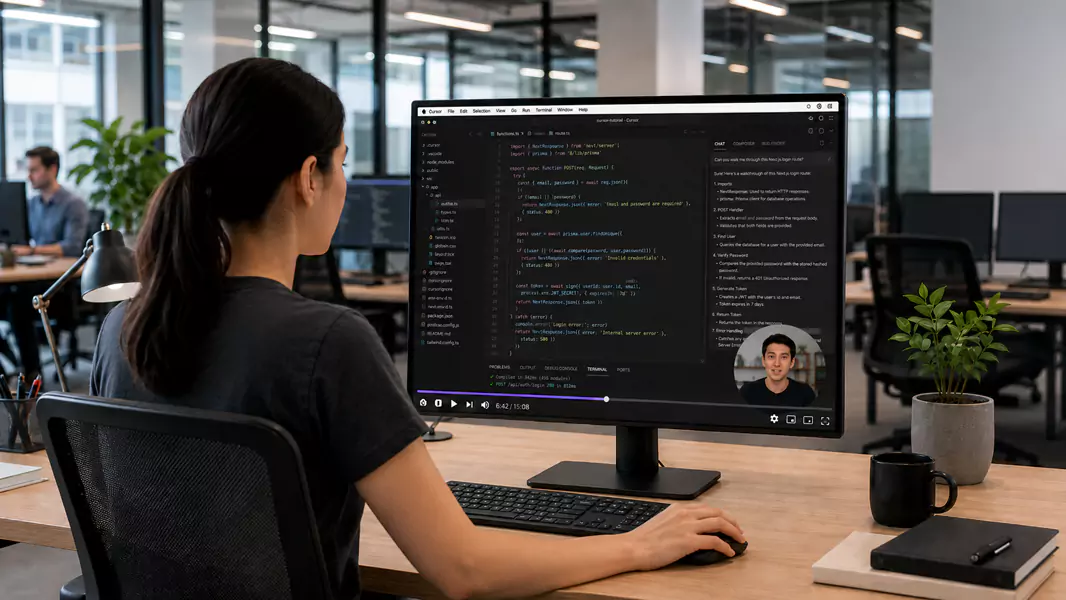
Consacrez chaque vidéo à une seule modification.
Une présentation est bien plus efficace lorsqu'elle se concentre sur une seule fonctionnalité, un seul correctif, une seule PR ou une unique décision d'implémentation. Essayer d'expliquer trop de choses à la fois rend la structure difficile à suivre.
Expliquez l'intention plutôt que la syntaxe
Votre coéquipier sait lire le code. Ce qu'il attend de la vidéo, c'est le raisonnement qui la sous-tend.
Concentrez-vous sur :
la raison d'être de ce changement
le choix de cette implémentation
la localisation des risques
les éléments à tester ou à examiner
Adoptez un ton direct et percutant, adapté aux évaluateurs.
Adoptez le ton d'un ingénieur qui transmet le relais à un collègue. Privilégiez une explication pratique et précise.
Ralentissez sur les sections denses
Si vous abordez une condition complexe, une décision d'architecture ou un flux de données, donnez-lui de l'espace. Une narration rapide sur un code difficile est le meilleur moyen de perdre votre spectateur.
Montrez le résultat dès que vous le pouvez
Même pour les travaux de backend, efforcez-vous de présenter un résultat. Un log, un résultat de test, une réponse API ou une modification d'interface permet de concrétiser vos explications.
Les erreurs courantes à éviter
Si le spectateur n'identifie pas le problème dès le départ, le reste de la démonstration perd toute sa cohérence.
Cela rallonge généralement la vidéo sans en améliorer la clarté. Synthétisez plutôt le rôle du code et son importance.
Une présentation interactive doit être guidée. Trop d'onglets ouverts nuisent à la clarté de vos explications.
Sans la présentation du correctif, du résultat ou du comportement attendu, votre visite guidée risque de sembler incomplète.
Une présentation technique réussie doit déboucher sur une action concrète : examiner une section, tester un parcours utilisateur, surveiller un cas particulier ou signaler un point de vigilance.
FAQ
Que doit contenir une vidéo de présentation de code efficace ?
Une bonne vidéo de revue de code doit présenter le problème, l'objectif du changement, le parcours principal du code, les compromis importants et le comportement attendu. Elle doit également indiquer clairement au spectateur ce qu'il doit examiner, tester ou faire ensuite.
Quelle est la durée idéale d'une vidéo de walk-through de code ?
Plus court est souvent plus efficace. Vos guides interactifs gagnent en clarté lorsqu'ils se concentrent sur une seule action ou une seule décision.
Devez-vous enregistrer la vue de la pull request ou l'éditeur de code ?
Tout dépend de votre objectif. La vue PR est idéale lorsque la révision elle-même est au cœur du sujet. En revanche, l'éditeur de code s'avère plus efficace pour expliquer la logique ou le flux qui sous-tendent une modification.
La narration en direct est-elle plus efficace que l'ajout de commentaires écrits ?
Pour de nombreux flux de travail d'ingénierie, la réponse est oui. Un commentaire vocal en direct est souvent plus rapide et apporte plus de contexte qu'une longue explication écrite, en particulier lorsque la logique derrière le changement est essentielle.
Quelle est la meilleure solution pour enregistrer vos démonstrations de code sur Windows ?
Découvrez un enregistreur d'écran Windows simple à démarrer et performant sur la durée. Enregistrez sans contrainte de temps, puis optimisez facilement vos vidéos grâce à nos outils de découpe intégrés avant de les partager.
Pourquoi Flashback est idéal pour ce flux de travail
Si vous recherchez un enregistreur d'écran gratuit pour vos démonstrations de code sur Windows, Flashback Express est le choix idéal. Il vous permet de filmer sans limite de temps, simplifie la configuration et n'ajoute aucun filigrane sur votre enregistrement. C'est un atout majeur pour expliquer clairement une modification technique sans avoir à vous presser.
Il s'adapte aussi parfaitement aux validations techniques entre ingénieurs en restant extrêmement léger. Vous pouvez enregistrer votre présentation, couper les temps morts et partager une explication nette, sans transformer une simple tâche de développement en une lourde production vidéo.
Si vous souhaitez bénéficier de fonctionnalités de montage avancées ou d'un flux de publication plus professionnel, comparez les options sur la page des tarifs de Flashback.
Utilisez Flashback Express pour enregistrer la présentation de votre code
Lorsqu'une pull request, une correction ou un refactoring nécessite plus que de simples commentaires, une courte vidéo explicative permet de faire gagner du temps à votre équipe et d'éviter les malentendus.
